How To Repot Hydrangeas Like A Pro
How to RePot Hydrangeas Like a Pro
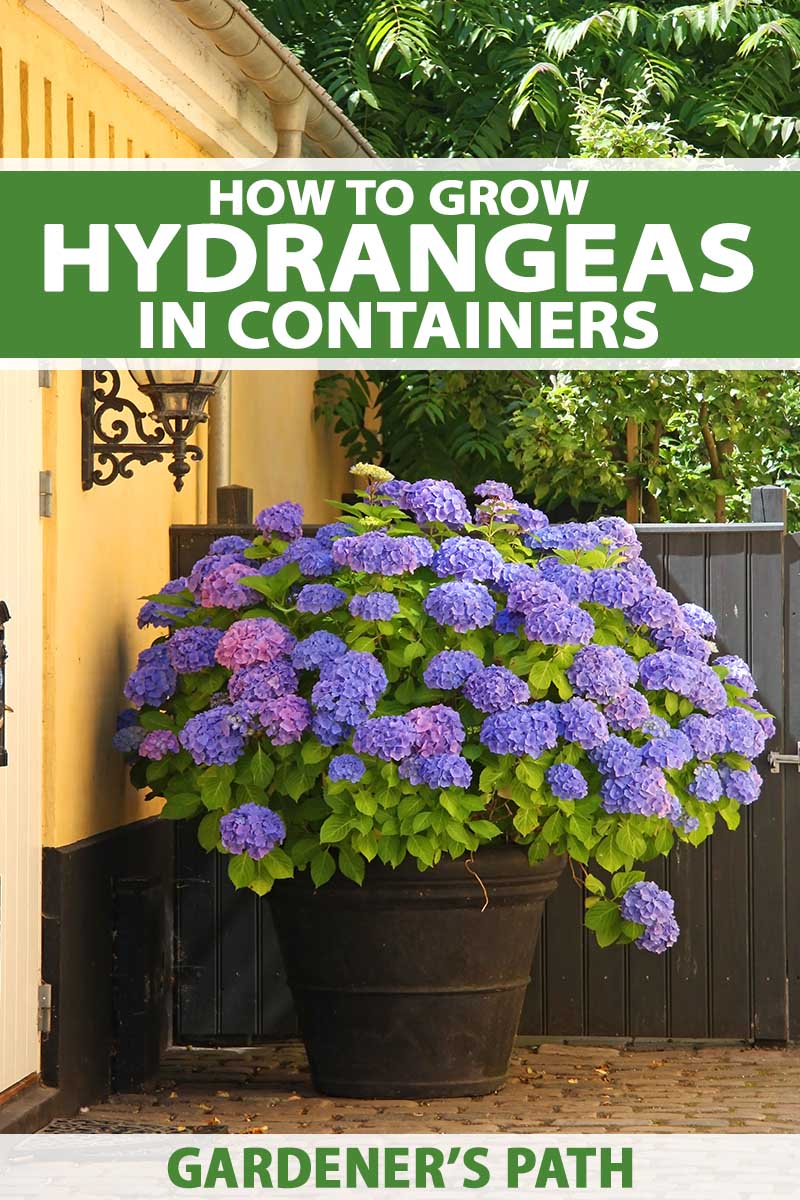
Hydrangeas are beautiful flowering shrubs that can add a touch of elegance to any garden. However, they can also be a bit finicky when it comes to repotting. If you're not careful, you can damage the roots or stress the plant, which can lead to poor growth or even death.
That's why it's important to know how to repot hydrangeas like a pro. In this blog post, I'll walk you through the steps involved in repotting hydrangeas, from choosing the right pot to watering and fertilizing your newly repotted plant.
1. Choose the Right Pot
The first step in repotting hydrangeas is choosing the right pot. The pot should be slightly larger than the current pot, but not too big. If the pot is too big, the roots will have too much room to grow and the plant may not bloom as well.
The pot should also have drainage holes to allow excess water to escape. Hydrangeas are susceptible to root rot, so it's important to make sure that the pot has good drainage.
2. Prepare the Soil
Once you've chosen the right pot, you need to prepare the soil. Hydrangeas prefer a soil that is rich in organic matter and drains well. You can use a commercial potting mix or make your own by mixing together equal parts potting soil, compost, and perlite.
3. Transplant the Hydrangea
Carefully remove the hydrangea from its current pot. If the roots are tightly bound, you can loosen them gently with your fingers. Place the hydrangea in the new pot and fill in around the roots with the prepared soil.
Water the hydrangea thoroughly and place it in a shady spot. The hydrangea will need some time to adjust to its new pot, so don't fertilize it for a few weeks.
4. Water and Fertilize the Hydrangea
Hydrangeas need regular watering, especially during the first few weeks after repotting. Water the hydrangea deeply so that the water reaches the roots.
Once the hydrangea has had a chance to adjust to its new pot, you can start fertilizing it. Use a balanced fertilizer, such as 10-10-10, and fertilize the hydrangea every few weeks during the growing season.
5. Protect the Hydrangea from the Cold
In colder climates, hydrangeas need to be protected from the cold. If you live in an area with frost, you should bring your hydrangea indoors during the winter. If you can't bring your hydrangea indoors, you can mulch around the base of the plant to help insulate it.
With a little care and attention, you can easily repot hydrangeas like a pro. By following these simple steps, you can help your hydrangeas thrive for years to come.
Hydrangeas are beautiful flowering shrubs that can add a touch of elegance to any garden. But if you want your hydrangeas to thrive, it's important to repot them every few years. Repotting gives your hydrangeas a fresh start in new soil and a larger pot, which allows their roots to grow and spread.
If you're not sure how to repot a hydrangea, don't worry! There are plenty of resources available to help you. One great place to start is . This website has a comprehensive guide on how to repot hydrangeas, step-by-step.
The guide covers everything you need to know, from choosing the right pot to preparing the soil to actually repotting the plant. It also includes helpful tips on how to care for your repotted hydrangeas so that they can continue to thrive for years to come.
So if you're ready to learn how to repot your hydrangeas, visit today!
FAQ of repotting hydrangeas
Frequently Asked Questions about Repotting Hydrangeas
- When should I repot my hydrangea?
Hydrangeas should be repotted every three to five years, preferably in the spring or fall. This will give the plant room to grow and help to prevent root rot.
- What size pot should I use?
When choosing a pot for your hydrangea, it is important to select one that is only one size larger than the current pot. This will help to prevent the plant from becoming rootbound.
- What type of soil should I use?
Hydrangeas prefer a well-draining soil that is rich in organic matter. A good potting mix for hydrangeas will contain peat moss, perlite, and compost.
- How do I repot my hydrangea?
To repot your hydrangea, start by carefully removing it from the current pot. Loosen the roots and then place the plant in the new pot. Fill in around the roots with potting mix, tamping down gently to remove any air pockets. Water the plant thoroughly and then place it in a shady spot for a few days to allow it to adjust to its new pot.
- What are some common problems with repotting hydrangeas?
Some common problems with repotting hydrangeas include:
- Root rot: This can occur if the plant is potted in a pot that is too large or if the soil is not well-draining.
- Wilting: This can occur if the plant is not watered thoroughly after repotting.
- Leaf drop: This can occur if the plant is stressed from being repotted.
If you experience any of these problems, it is important to take steps to correct the problem. For example, if the plant is suffering from root rot, you will need to repot it in a pot that is the correct size and use a well-draining potting mix. If the plant is wilting, you will need to water it more frequently. And if the plant is dropping leaves, you will need to give it time to adjust to its new pot.
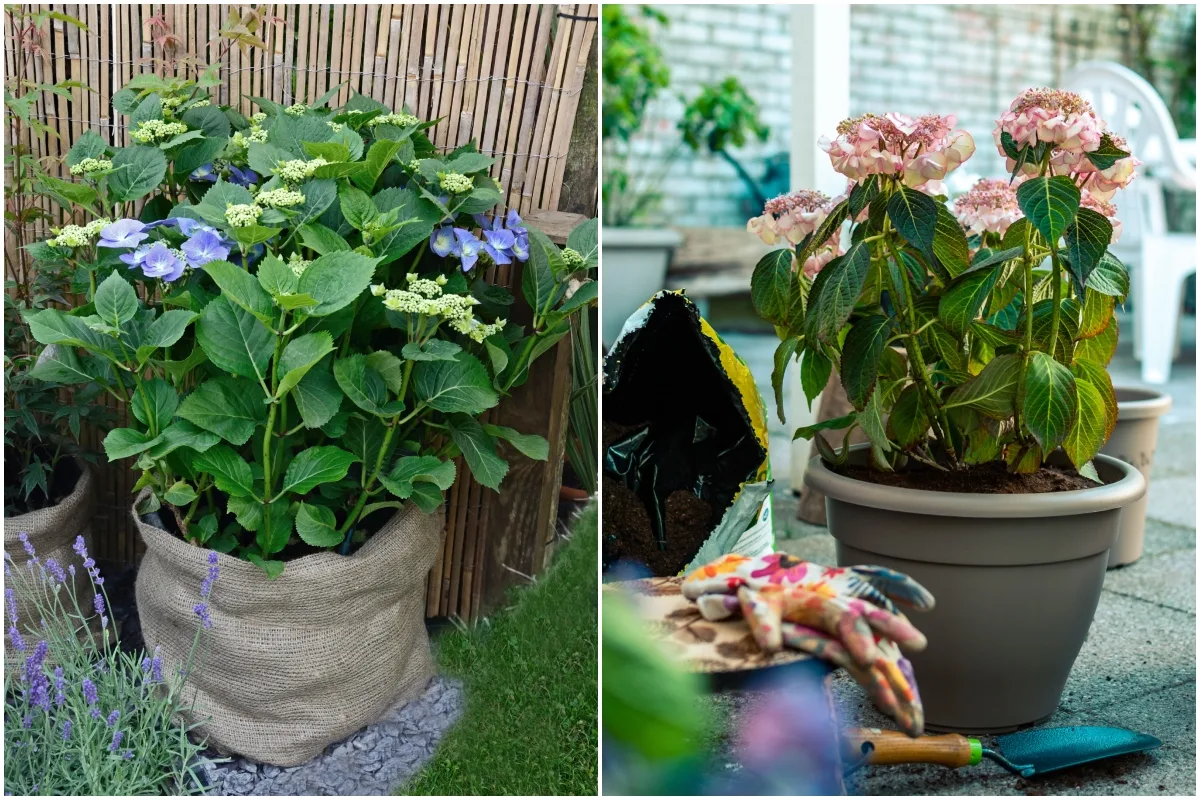
Image of repotting hydrangeas
- An image of a person carefully removing a hydrangea plant from its pot.
- An image of the roots of the hydrangea plant being gently spread out in a new pot.

- An image of the hydrangea plant being placed in the new pot and the soil being gently patted down around it.
- An image of the hydrangea plant being watered after it has been repotted.

- An image of the hydrangea plant thriving in its new pot.
Post a Comment for "How To Repot Hydrangeas Like A Pro"